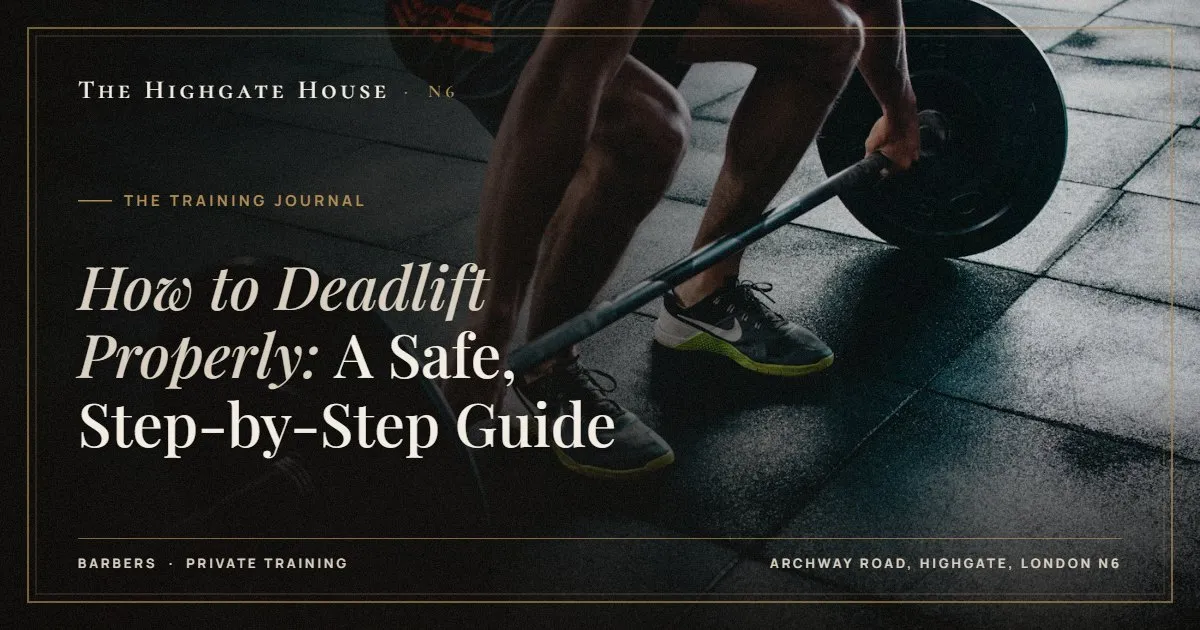
How to Deadlift Properly: A Safe, Step-by-Step Guide
To deadlift properly, stand with the bar over the middle of your feet, hinge down and grip it just outside your shins, bring your shins to the bar, brace your trunk and pull the slack out of the bar, then push the floor away until you are standing tall. Lower it by sending the hips back first and letting the knees bend once the bar has passed them. Keep the bar touching or almost touching your legs the whole way. That is the whole lift. The rest of this guide is about doing those steps consistently, choosing a starting weight that lets you learn them, and recognising the faults that cause most problems.
What the deadlift is, and why it is worth learning
The conventional deadlift is picking a loaded barbell up from the floor until you are standing, then putting it back down. It trains the muscles along the back of the body (glutes, hamstrings, the long muscles beside the spine) along with the upper back, forearms and grip. It also teaches a pattern you use every time you lift a suitcase, a child or a box of files.
It has a reputation for hurting backs. In my experience, the problem is rarely the exercise itself. It is usually too much weight, too soon, with a set-up that changes every rep. Learned gradually, it is one of the most useful lifts there is.
If you cannot yet bend from the hips with a flat back, start there. Our guide to the hip hinge covers the drills I use before a barbell is involved.
Before you start: kit and warm-up
- Shoes. Flat, firm soles or bare socks if the gym allows. Thick, cushioned running shoes make you less stable and lengthen the pull.
- Bar height. A standard plate puts the bar at roughly mid-shin. If you are using lighter bumper or technique plates, make sure they are full diameter, or raise the bar on blocks so it starts at the same height.
- Warm-up. Five minutes of general movement (the air bike is fine), then a few hinges with a dowel and two or three lighter sets of deadlifts building to your working weight.
Check with your GP or a physiotherapist before deadlifting if you have current back pain, a disc problem, recent surgery, a hernia, uncontrolled high blood pressure, or if you are pregnant.
The deadlift, step by step
- Feet. Stand with your feet roughly hip-width apart, toes pointing forward or turned out slightly. Look down: the bar should sit over the middle of your foot, which on most people is about an inch from the shins.
- Grip. Without moving the bar, hinge at the hips and bend your knees just enough to take hold of it. Hands go just outside your legs, arms straight. Use a double overhand grip (both palms facing you) for as long as you can hold the weight.
- Shins to bar. Bend your knees until your shins touch the bar. Do not roll the bar towards you; bring yourself to it.
- Set your back. Lift your chest slightly and imagine squeezing oranges in your armpits. Your back should be long and neutral, not arched hard and not rounded. Eyes on the floor a couple of metres ahead.
- Breathe and brace. Take a big breath in through the belly and tense your trunk as if expecting a nudge in the stomach. Hold it. Bracing is what keeps your spine steady under load.
- Take the slack out. Pull up on the bar just enough that you hear the plates click against the bar and feel your whole body tighten, without the plates leaving the floor. This step separates smooth deadlifts from jerky ones.
- Push the floor away. Drive through your whole foot. Hips and shoulders rise together. The bar travels straight up, grazing your shins and thighs.
- Finish tall. Stand up straight with hips and knees fully extended and glutes squeezed. Do not lean back. Standing straight is the finish.
- Lower with control. Push your hips back first, keeping the bar close. Once the bar passes your knees, bend them and let it land over the middle of your feet. Reset your brace before the next rep.
The five faults I correct most often
| Fault | What it looks like | Usual fix |
|---|---|---|
| Bar drifts forward | Gap between bar and shins; pull feels heavy at the floor | Start with bar over mid-foot; think of dragging it up your legs |
| Hips shoot up first | Legs straighten, back does all the lifting | Take the slack out properly; push the floor rather than pulling the bar |
| Lower back rounds | Back loses its shape as the bar leaves the floor | Reduce the weight, rehearse the brace, raise the bar on blocks if needed |
| Jerking the bar | Snatching it off the floor with bent arms | Straight arms; slack out first, then a steady push |
| Leaning back at the top | Over-arching once standing | Finish with glutes, ribs down, standing tall rather than backwards |
A small amount of upper-back rounding is common with heavier weights and is not automatically dangerous for experienced lifters. Lower-back rounding that grows as the set goes on is a sign to stop and lighten the bar.
How much weight should you start with?
Lighter than your ego suggests. For a beginner, I usually start with an empty bar or a light bar raised to standard height, and add weight only while every rep looks the same. A useful benchmark: finish each set with two or three good reps still in reserve. If rep five looks different from rep one, the set was too heavy.
Sets of five are a good default while you learn. Three to four working sets, once or twice a week, is plenty. Small, regular increases work better than big jumps, which is the principle behind progressive overload.
Grip, straps and belts
- Mixed grip (one palm in, one out) lets you hold more weight but loads the arms unevenly. Save it for heavy sets and alternate which hand faces which way.
- Lifting straps are fine once grip, not your back or legs, limits the set. They should not replace grip training entirely.
- A belt gives you something to brace against. It is a tool for heavier lifting, not something a beginner needs, and it does not replace learning to brace.
Variations worth knowing
The conventional deadlift is not compulsory. Depending on how you move, I may start someone with one of these:
- Trap-bar or block pulls. Raising the start position shortens the range and makes a good back position easier to find.
- Romanian deadlift. Starts from standing and lowers only as far as your hamstrings allow. Excellent for learning the hinge. See our Romanian deadlift guide.
- Sumo deadlift. A wide stance with hands inside the knees. Suits some builds, particularly people with long legs and a short torso.
- Kettlebell or dumbbell deadlift. A friendly first step for people new to lifting.
Learning to deadlift with a coach
The deadlift is easy to describe and surprisingly hard to self-assess, because you cannot see your own back. Filming yourself side-on helps. A coach helps more, because small corrections early stop faults becoming habits. In our private studio on Archway Road there is a squat rack, barbell and plates, so we can teach the lift from blocks through to the floor with no one waiting for the platform. If you would like to learn it properly, 1-1 personal training in Highgate starts with a movement check before any barbell work.
Questions we get asked
Is the deadlift bad for your back?
Not when it is learned gradually with sensible loads. Most deadlift injuries come from too much weight and inconsistent technique.
Should I feel deadlifts in my lower back?
Some effort in the back muscles is normal. Sharp, pinching or lingering pain is not. Stop and get it checked.
How often should I deadlift?
Once or twice a week is enough for most people. It is demanding, so it does not need daily practice.
Should I touch and go or reset each rep?
Reset each rep while learning. It makes you rehearse the set-up every time.
Training in our private Highgate studio means the barbell is yours for the whole hour. You can find out more about the building at The Highgate House.
Book with The Highgate House
Ready to start training properly? Email us at [email protected] with the service and the day that suits you, and we will come back to you with times.
Visit The Highgate House · Private personal training
The Highgate House, Archway Road, Highgate, London N6.
