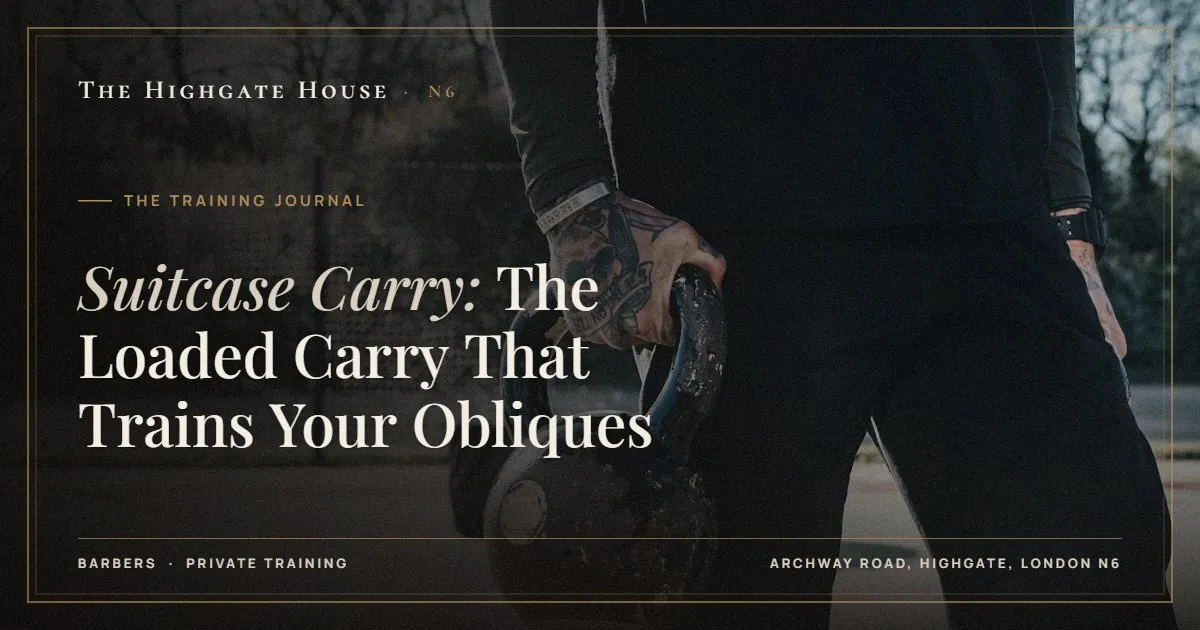
Suitcase Carry: The Loaded Carry That Trains Your Obliques
The suitcase carry is a walk with a heavy weight in one hand only. Because the load is on one side, your trunk has to stop you leaning towards it, which makes the obliques and the deep muscles on the opposite side of your waist work hard throughout. Pick up a dumbbell, stand tall with your shoulders level, walk 20 to 30 metres without leaning or swaying, then switch hands. Start with a weight you can carry with perfect posture, do 2 to 4 walks each side, and add weight when the last walk still looks tidy.
How it differs from the farmer’s walk
With a weight in each hand, the loads balance each other out. Your trunk works to stay upright, but mainly front to back. Take one weight away and the problem changes completely: now the load is trying to bend you sideways, and the muscles on the empty-hand side must hold you straight. Trainers call this anti-lateral flexion, which is a fancy way of saying “not tipping over”.
That makes the suitcase carry the more specific core exercise of the two, and the more humbling. Many people who can carry a pair of 24kg dumbbells with ease find a single 24kg dumbbell surprisingly hard to carry well. We cover the two-handed version in the farmer’s walk; think of the suitcase carry as its harder-to-cheat cousin.
What it trains
- Obliques and quadratus lumborum on the side opposite the weight: these resist the side bend.
- Hip stabilisers, especially the glute medius, which keep the pelvis level with every step.
- Grip and forearm on the loaded side.
- Upper back and shoulder, which stop the loaded shoulder being dragged down.
It also carries over directly to life: shopping bags, a suitcase through King’s Cross, a child on one hip, a toolbox up the stairs. Doing it well in training means the real thing feels easier and less awkward on your back.
How to do it, step by step
- Set up next to the dumbbell. Stand with the weight beside one foot, not in front of you.
- Pick it up like a deadlift. Hinge at the hips, keep your back long, grip the handle in the middle, and stand up by driving through the floor. Do not reach sideways and yank it up.
- Get tall and level. Shoulders level, ribs stacked over the pelvis, eyes forward. Imagine a glass of water on each shoulder.
- Brace lightly. Breathe in, tighten your waist as if someone were about to nudge you from the side, then keep breathing shallowly as you walk. Our guide to bracing your core explains the breathing in more detail.
- Walk normally. Steady, natural steps, heel to toe. Fast enough to be purposeful, slow enough to stay controlled.
- Put it down with the same care. Hinge back down rather than dropping it from the shoulder.
- Switch hands and repeat. Always do both sides, and start with the weaker one.
Common faults and how to fix them
| Fault | What it means | Fix |
|---|---|---|
| Leaning towards the weight | The load is winning | Go lighter; think “push the free hand towards the floor” |
| Leaning away from the weight | Overcorrecting to balance the load | Check in a mirror; aim for vertical, not a counter-lean |
| Loaded shoulder drooping | Upper back switching off | Gently pull the shoulder up and back before walking |
| Hip swinging out each step | Hip stabilisers struggling | Shorter steps, slower pace, lighter weight |
| Dumbbell banging the leg | Arm drifting in | Hold it slightly away from the thigh, arm straight |
A useful test is to film ten seconds from behind. If your head, spine and the line between your shoulders stay still while your legs move, you are doing it right.
How heavy and how far
There is no universal number, because what matters is how you look carrying it. A sensible starting point is roughly half of what you would hold in one hand for a farmer’s walk, then build. It counts towards the muscle-strengthening activity the NHS recommends on at least two days a week. Practical guidelines:
- Distance: 20 to 30 metres per walk, or 30 to 40 seconds if space is limited.
- Sets: 2 to 4 walks each side.
- Rest: 60 to 90 seconds between walks; switching hands can count as part of it.
- Progression: add 2 to 4kg when every walk looks clean. If one side is clearly weaker, keep both sides at the weaker side’s weight until it catches up.
Variations worth knowing
- Suitcase march on the spot: for small spaces. Lift each knee slowly to hip height while holding the weight.
- Suitcase carry with a kettlebell: the handle sits differently and challenges grip a little more.
- Offset carry: one heavier weight at the side and one lighter weight held overhead or at the shoulder. An advanced option for those with good shoulder control.
- Suitcase deadlift: the pick-up done for reps. Good for teaching the hinge with an uneven load.
Where it fits in a session
Loaded carries are tiring for the grip and trunk, so they usually go at the end of a session, where they act as a finisher without compromising your main lifts. Two exceptions: as a light warm-up to wake up the trunk before squats or deadlifts, and as part of a short circuit on days when time is tight. In our private training studio in Highgate the space is clear for a proper walk, and nobody needs to step around you. It pairs well with the Pallof press, which trains resistance to rotation on the cable station.
If you have a current back injury, a hernia, or have recently had abdominal surgery or a baby, check with your GP or physiotherapist before adding heavy carries.
Questions we get asked
Is the suitcase carry good for lower back pain?
For many people with general stiffness, building trunk strength through controlled carries helps. If you have diagnosed back pain, get advice first and start light.
Should I hold my breath?
No. Brace your waist, then breathe in short, controlled breaths throughout the walk.
How often can I do it?
Two or three times a week works well, as long as your grip and trunk feel recovered between sessions.
Kettlebell or dumbbell?
Either. Dumbbells are easier to progress in small jumps, which is why we usually start with them. If you would like coaching on this and the rest of your programme, see our personal training page.
Book with The Highgate House
Ready to start training properly? Email us at [email protected] with the service and the day that suits you, and we will come back to you with times.
Visit The Highgate House · Private personal training
The Highgate House, Archway Road, Highgate, London N6.
