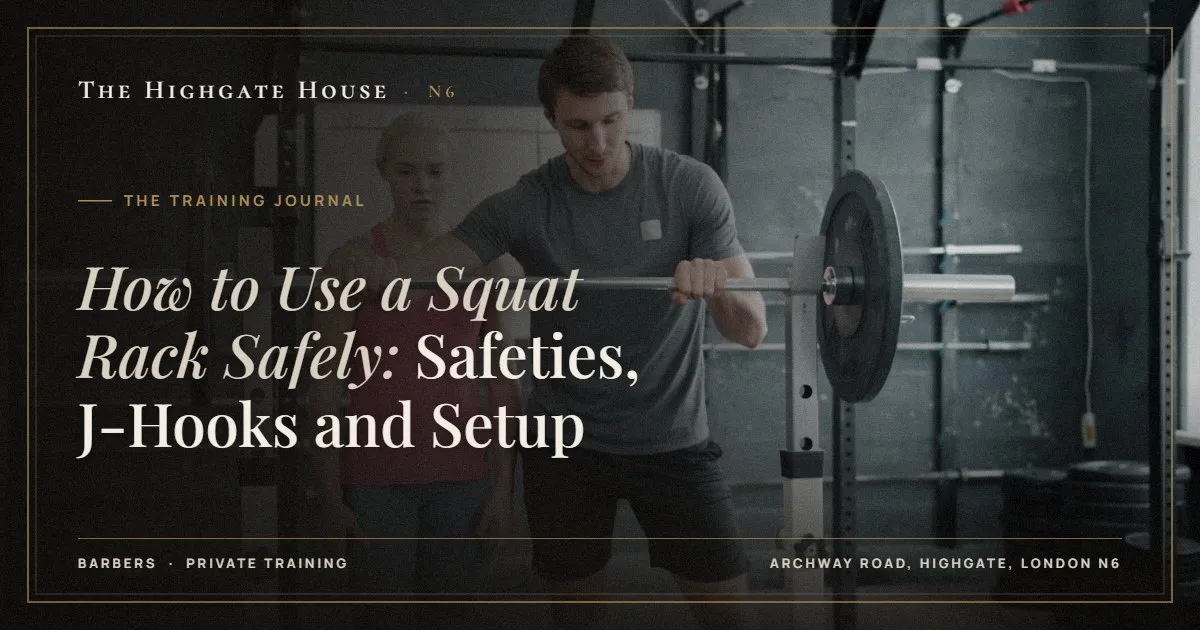
How to Use a Squat Rack Safely: Safeties, J-Hooks and Setup
Using a squat rack safely comes down to two heights and one habit. Set the J-hooks (the cups the bar rests in) at about the height of your armpit or upper chest, so you can unrack with a small push of the legs rather than a tiptoe or a half squat. Set the safety arms or pins just below the lowest point the bar reaches in a good rep, so they catch it only if you fail. Then the habit: test the safeties with an empty bar before you load it, and take no more than three steps back to squat. Get those right and the rack is the safest place in a gym to lift heavy.
The parts of a rack and what they do
Racks vary, but the vocabulary is consistent.
- Uprights: the vertical posts, with numbered holes. The numbers are your friend: write down yours.
- J-hooks: the cups that hold the bar between sets. They slot into the holes at any height.
- Safety arms, pins or straps: horizontal bars or straps that run front to back, set below the bar’s path, so a failed rep lands on them rather than on you.
- Half rack vs full rack: a half rack has two uprights and safeties that stick out in front; a full (power) rack has four uprights and you lift inside the cage. Both are safe if set correctly. The difference is mostly where you stand.
The rack is not only for squats. The same setup serves overhead presses, rack pulls, bench presses with a bench inside, and inverted rows on a low bar. The principles below apply to all of them, but squats are where the heights matter most.
Setting the J-hooks
The bar should sit roughly level with the top of your sternum, or slightly lower. Test it with an empty bar: step under, place it on your upper back, and stand up. You want the bar to lift off the hooks with a couple of centimetres of knee straightening.
| If the hooks are… | What happens | Why it matters |
|---|---|---|
| Too high | You rise onto your toes to unrack, and stretch to re-rack. | Re-racking a heavy bar at the end of a set, when you are tired, is when people miss the hooks. |
| Too low | You quarter-squat the weight out of the hooks. | That is an extra, unplanned rep at the start of every set, from an awkward position. |
| About right | A small push lifts it out; on re-racking, the bar meets the uprights then drops into the hooks. | Unracking and re-racking become non-events, which is the point. |
When in doubt, one hole lower is safer than one hole higher. Re-racking is the moment to protect.
Setting the safeties
This is the step people skip, and it is the one that matters if something goes wrong. Set the safety arms just below the bar’s position at the bottom of your deepest good rep, usually one or two holes.
- With an empty bar on your back, squat to your normal depth inside the rack (or in front of the arms in a half rack).
- Have someone note where the bar sits at the bottom, or check the hole number against the bar in a mirror.
- Set the safeties one notch below that.
- Do two empty-bar reps. The bar should not touch the safeties. If it does, drop them one hole.
- Squat below your normal depth, deliberately, and let the bar settle on the safeties. Check you can then slide out from under it.
Too high, and the bar clips the safeties on a good rep and throws you off balance. Too low, and a failed rep pins you in a position you cannot get out of. Five minutes of testing on your first session saves you from both, and once you know your hole numbers it takes seconds.
The walkout: three steps, no more
Most squatting problems that are blamed on the squat start in the walkout. Treat it as a skill.
- Set up under the bar with your feet directly beneath it, not behind it. Grip, pull your shoulder blades together, and brace.
- Stand up with the bar, pause for a second, and let it settle.
- Step back with one foot, then the other, then a small adjustment. Three steps. Any more and you are spending energy before the set begins.
Look forward, not down at your feet. The bar should clear the J-hooks by a few centimetres when you squat, no more. That keeps you close to the rack for re-racking, and inside the safety arms if you are using a half rack.
Failing a rep safely
Every lifter who trains hard enough will eventually fail a rep. The aim is to make it uneventful.
- With safeties set correctly: if you cannot stand up, keep your back tight, sit down slightly lower than normal, and let the bar come to rest on the safeties. Then slide out forward or backward. Do not try to throw it.
- Without safeties (half rack or outside the rack): learning to dump the bar behind you is a skill best practised with an empty bar and plenty of space. It is not a plan for a heavy set. Use the safeties.
- Collars: use them on most sets, so plates cannot slide off one end if the bar tips. The exception is when you are practising a dump with no safeties, which is rare.
A sensible guide: stop a set when you have one or two good reps left in you, especially when training alone. Our post on training to failure explains why that costs very little in results.
Pre-set checklist
Run through this before every working set. It takes twenty seconds.
- J-hooks at your height, both sides the same hole.
- Safeties set, both sides the same hole, tested with the empty bar.
- Bar centred: check the knurling marks are equal distances from each hook.
- Plates loaded evenly, collars on.
- Floor clear behind you: no plates, bottles or bags.
- You know how many reps you are doing and where you will stop.
Common mistakes
- Loading one side fully, then the other. A heavily unbalanced bar can tip the rack or flip off the hooks. Alternate a plate each side.
- Uneven hook heights. One hole out and the bar tilts every time you rack it.
- Racking the bar straight into the hooks. Walk forward until the bar touches the uprights, then lower it. Aiming directly for the hooks is how people miss them.
- Using the rack for curls. Fine at home; poor manners in a shared gym. In a private studio, nobody minds.
If you are new to the barbell itself, read our guide to barbell basics first, then how to squat properly for depth, stance and bracing. If you have a back, knee or hip problem, or are returning after a long break, check with your GP first.
Learning it with a coach
The basement studio at The Highgate House has a squat rack with safeties, a barbell and plates, and because the room is booked to you alone, there is no queue and no audience while you learn. In 1-1 sessions with me, we set your heights in the first session, write them down, and practise a controlled fail onto the safeties so that it never feels like an emergency.
Questions we get asked
How high should the safety bars be in a squat rack?
Just below the lowest point of the bar in a good rep, usually one notch below. Test with an empty bar: good reps should not touch them.
Do I need a spotter if I use safeties?
Not for squats, if the safeties are set correctly. For a heavy bench press, a spotter or safeties set just above chest height is still wise.
Is a squat rack safe for beginners?
Yes. Correctly set, it is safer than squatting with dumbbells or a bar lifted off the floor, because a failed rep has somewhere to go.
What is the difference between a squat rack and a Smith machine?
A Smith machine fixes the bar on rails; a rack lets it move freely. A rack teaches you to control the load yourself. We cover that in our personal training sessions as part of your programme.
Book with The Highgate House
Ready to start training properly? Email us at [email protected] with the service and the day that suits you, and we will come back to you with times.
Visit The Highgate House · Private personal training
The Highgate House, Archway Road, Highgate, London N6.
