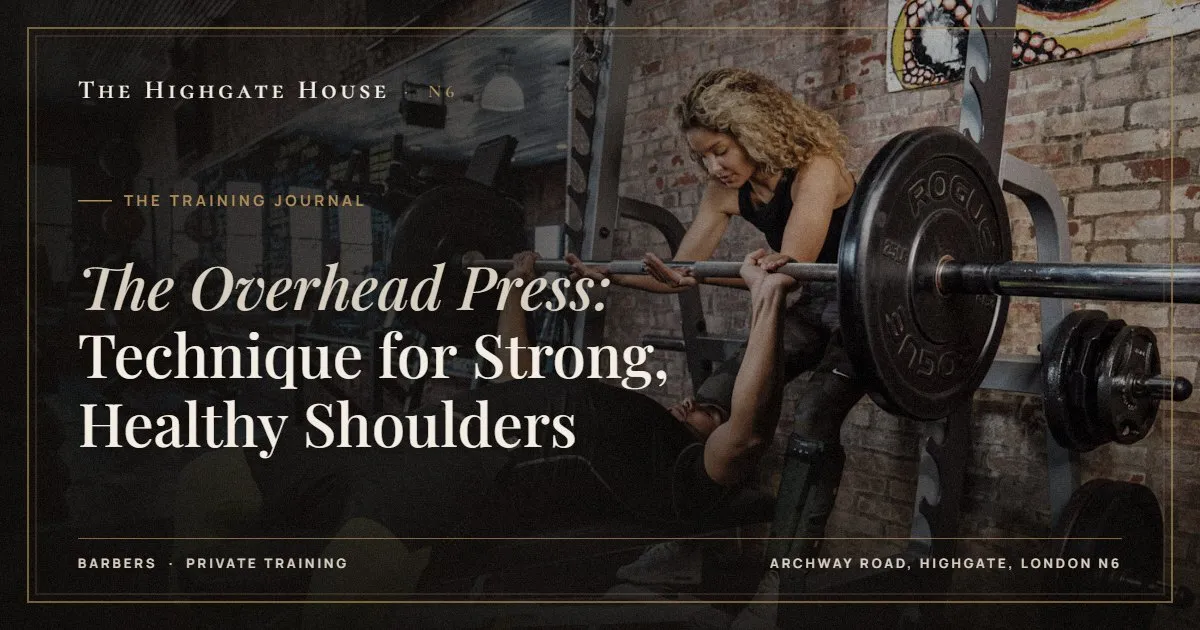
The Overhead Press: Technique for Strong, Healthy Shoulders
Good overhead press form comes down to five things: hands just outside shoulder width, forearms vertical under the bar, a tight brace through your trunk and glutes so your lower back does not arch, a straight bar path that moves your head out of the way rather than the bar around it, and a finish with the bar over the middle of your foot and your head pushed through. Most shoulder complaints from pressing come from a long lean back, flared elbows, or loading faster than the shoulders adapt. Below is the full setup, the common faults, and how to build the lift if overhead feels restricted.
Why the overhead press is worth learning
The standing press asks your shoulders, triceps and upper back to push a load directly overhead while your trunk and legs keep you stable. It is one of the few exercises that trains the shoulders through their full range of overhead motion under load, and it exposes stiffness in the upper back that desk work tends to create. Done well, it builds the kind of strength that makes lifting a suitcase into an overhead locker unremarkable.
It is also the slowest of the main barbell lifts to progress. Expect weight increases measured in a kilo or two at a time. That is normal and is one reason good technique matters so much: you have less load to hide behind.
Setting up: step by step
- Rack height. Set the bar on the J-hooks at about mid-chest height, so you can unrack it by bending your knees slightly rather than rising on tiptoe. If you are new to the rack, read how to use a squat rack safely first.
- Grip. Hands just outside your shoulders, with the bar sitting low in the palm over the wrist, not up near the fingers. Your wrist should be stacked rather than bent right back.
- Forearms vertical. Seen from the front and the side, your forearms should be close to vertical under the bar. If they angle in or out, adjust your grip width until they do not.
- Elbows slightly in front of the bar. In the start position the elbows sit a little ahead of the bar, not flared out to the sides.
- Unrack and step back. Two short steps, feet about hip width, weight across the whole foot.
- Brace. Breathe into your belly, tighten your trunk, and squeeze your glutes. This locks your pelvis so your lower back cannot arch as the bar goes up.
The press itself
Bar path
The bar should travel in a near-straight vertical line from the top of your chest to over the middle of your foot. The problem is that your face is in the way. The solution is to move your head, not the bar. As you start the press, pull your chin back slightly, as if making a double chin, so the bar clears your nose. Once it passes your forehead, push your head forwards “through the window” made by your arms.
Lockout
At the top, your arms are straight, the bar is roughly over the back of your neck and the middle of your foot, and your shoulder blades have risen slightly to support it. That last point matters. You may have been told to keep your shoulders down and back for everything. For overhead pressing, a gentle shrug at the top is part of normal shoulder mechanics and helps the joint sit well.
Lowering
Reverse the path under control: head back slightly, bar down to the top of the chest, rebrace, repeat. Take a breath at the top or between reps, not halfway up.
Common faults and how to fix them
| Fault | What it looks like | Fix |
|---|---|---|
| Leaning back | Ribs flare, lower back arches, the press turns into an incline bench | Brace harder, squeeze glutes, reduce the weight |
| Bar drifting forward | Bar finishes in front of your face, shoulders strain to hold it | Push your head through at the top; think “bar back” |
| Elbows flared | Elbows out to the sides at the start | Start with elbows slightly in front of the bar |
| Bent wrists | Bar up in the fingers, wrists folded back | Bar low in the palm, knuckles pointing up |
| Knee dip | Legs drive the bar up unintentionally | Lock the knees; save leg drive for a push press |
The lower back
The biggest risk in the standing press is not the shoulders but the lower back. When the weight is too heavy, people lean back to turn it into a partly horizontal push, which uses more chest and puts the lumbar spine into a loaded arch. A small lean to clear your face is normal. A dramatic one means the load is too heavy. For more on the breathing that prevents it, see bracing your core when lifting.
When overhead does not feel right
Plenty of people cannot get their arms straight overhead without arching the lower back. Usually the cause is stiffness through the upper back, chest or lats rather than a problem with the shoulder joint itself. A quick check: stand with your back flat against a wall, heels a few centimetres away, and raise straight arms overhead. If your thumbs cannot touch the wall without your lower back peeling off, full barbell pressing is probably not where to start.
Instead:
- Half-kneeling single-arm dumbbell press. Kneeling stops you arching, and one arm at a time lets the shoulder find its own path.
- Seated dumbbell press with a back support set just short of upright.
- Landmine press. A diagonal path that most sore shoulders tolerate well. See the landmine press.
- Upper back mobility work, done consistently for a few weeks.
Then retest. Many people find the barbell press becomes comfortable once the upper back moves better.
Programming the press
- Frequency: once or twice a week is enough for most people.
- Sets and reps: 3 to 5 sets of 5 to 8 reps for strength. Higher reps (8 to 12) work better with dumbbells.
- Rest: two to three minutes between heavy sets.
- Progression: add the smallest increment the gym allows. Fractional plates of 0.5 to 1 kg help here more than for any other lift.
- Balance it: pair pressing with pulling, such as lat pulldowns or rows, so the back of the shoulder keeps pace.
In 1-1 training at the Highgate studio, we usually start with a dumbbell variation and a mobility check, then move to the barbell in the rack once the overhead position is clean.
Safety
If you have had a shoulder dislocation, rotator cuff injury or surgery, have persistent neck or shoulder pain, or are pregnant or have high blood pressure, check with your GP or a physiotherapist before pressing heavy weights overhead. Stop if you feel sharp or pinching pain at the front or top of the shoulder. The NHS strength exercise guidance is a useful, conservative starting point if you are coming back from a break.
Questions we get asked
Is the overhead press bad for your shoulders?
Not for healthy shoulders with sensible loading. Problems usually come from poor positions, excessive lean, or adding weight too quickly.
Standing or seated?
Standing trains the trunk and is closer to real life. Seated lets you focus on the shoulders and is useful if your lower back arches when standing.
Barbell or dumbbells?
Both are good. Dumbbells allow each shoulder its own path and are often easier to start with. The barbell lets you load more over time.
How should I breathe?
Breathe in and brace at the start, hold through the press, breathe out at or near the top. If you would like your technique coached, the personal training page explains how sessions work at The Highgate House.
Book with The Highgate House
Ready to start training properly? Email us at [email protected] with the service and the day that suits you, and we will come back to you with times.
Visit The Highgate House · Private personal training
The Highgate House, Archway Road, Highgate, London N6.
